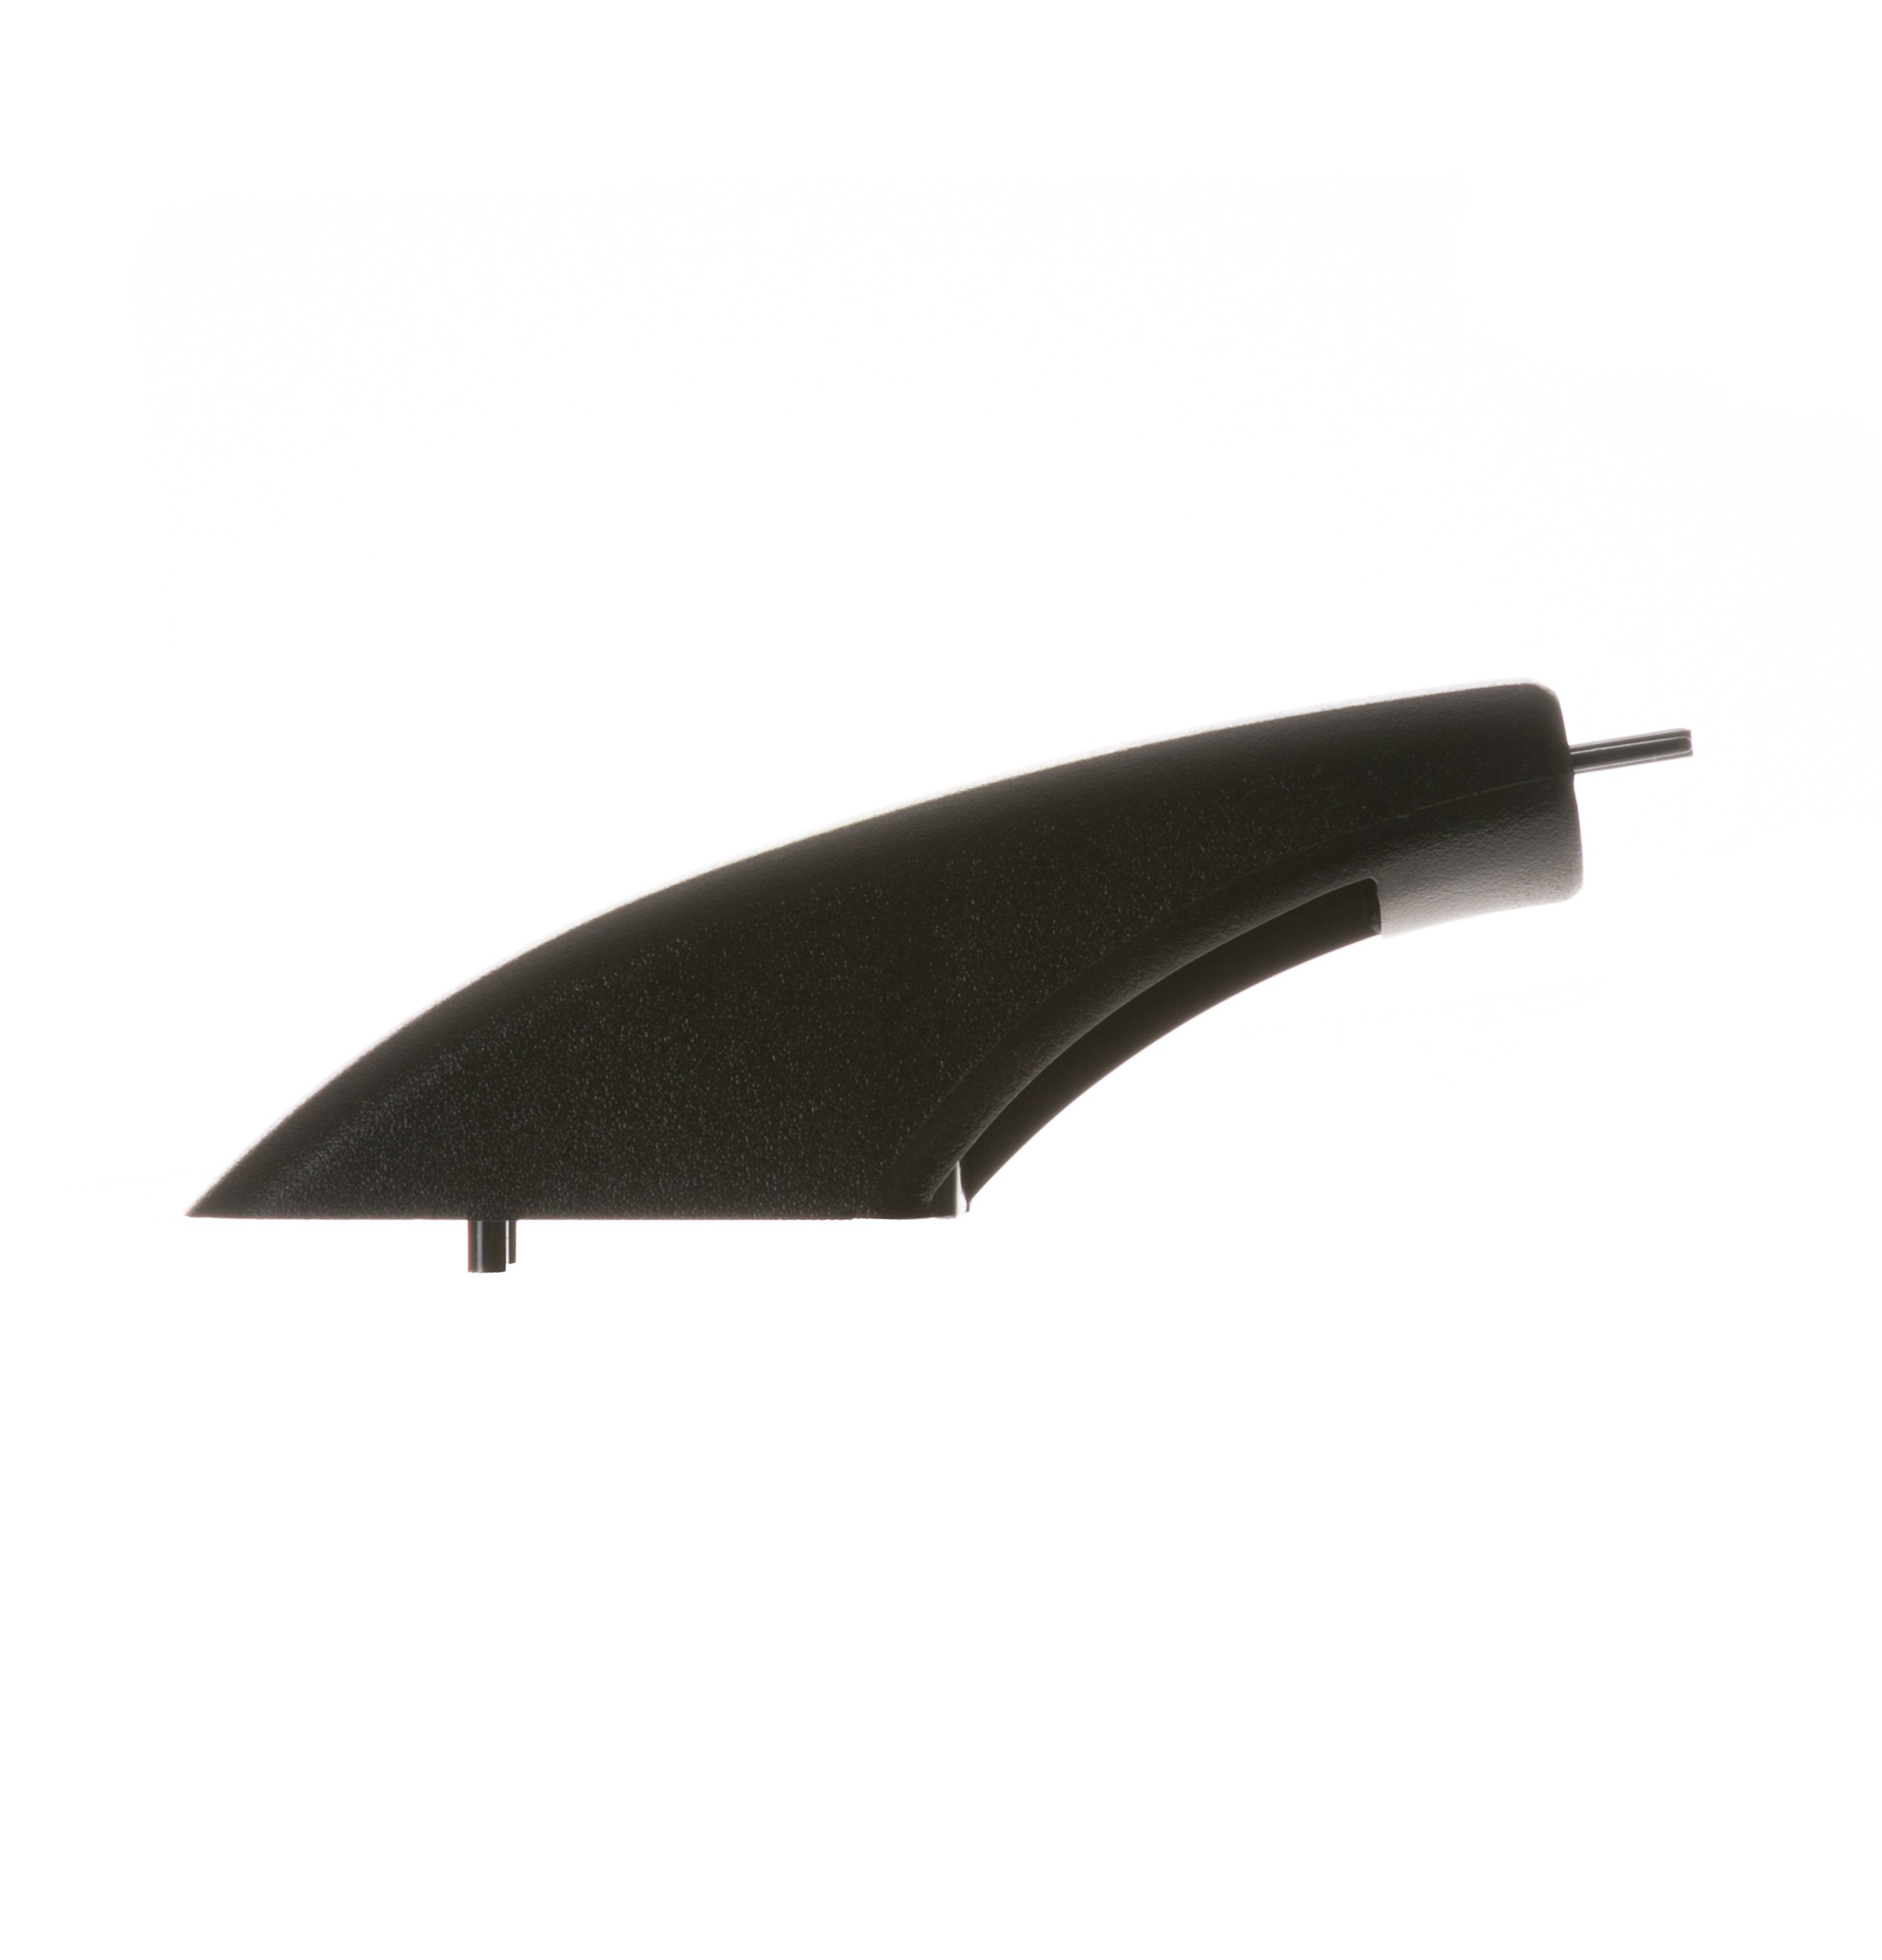

General Electric WB07X10034 Range Handle End Cap
$19.98
Price reduced from
$24.81
More Information:
This Part Fits the Following Models
181 models
GE JGBP24BEA1 Gas Range
GE JGBP24BEA1AD Gas Range
GE JGBP26BEA1 Gas Range
GE JGBP26BEA1AD Gas Range
GE JGBP26BEA2 Gas Range
GE JGBP24BEA3AD Gas Range
GE JGBP26BEA2AD Gas Range
GE JGBP24BEA2 Gas Range
GE JGBP24BEA2AD Gas Range
GE JGBP24BEA3 Gas Range
GE JGBS04BPA1AD Gas Range
GE JGBS04BPA2 Gas Range
GE JGBS04BPA2AD Gas Range
GE JGSS05BEA1BB Gas Range
GE JGSS05BEA2BB Gas Range
GE JGBS22BEA1AD Gas Range
GE JGBC20BEA1AD Gas Range
GE JGBS23DEA1 Gas Range
GE JGBS23DEA1AD Gas Range
GE JGBP40BEC1AD Gas Range
GE JGBC20BEA1 Gas Range
GE JGBS22BEA1 Gas Range
GE JGBS23BEA1 Gas Range
GE JGBS23BEA1AD Gas Range
GE JGBS23BEA2AD Gas Range
GE JGBS23BEA2 Gas Range
GE JGBS22BEA2 Gas Range
GE JGBS22BEA2AD Gas Range
GE JGBP27BEA4 Gas Range
GE JGBP27BEA4AD Gas Range
GE JGBP27BEA5 Gas Range
GE JGBP27BEA5AD Gas Range
GE JGBS04BEA2 Gas Range
GE JGBS04BEA1 Gas Range
GE JGBS04BEA1AD Gas Range
GE JGBP30DEA1 Gas Range
GE JGBP30DEA1AD Gas Range
GE JGBP30DEA2 Gas Range
GE JGBP30DEA2AD Gas Range
GE JGBP30DEA3 Gas Range
GE JGBP30DEA3AD Gas Range
GE JGBP30DEA4AD Gas Range
GE JGBP30DEA4 Gas Range
GE JGBP30BEA1 Gas Range
GE JGBP30BEA1AD Gas Range
GE JGBP30BEA2 Gas Range
GE JGBP30BEA2AD Gas Range
GE JGBP30BEA3AD Gas Range
GE JGBP30BEA3WH Gas Range
GE JGBS04BEA2AD Gas Range
GE JGBS04BPA1 Gas Range
GE JGBP28BEA1 Gas Range
GE JGBP28BEA1AD Gas Range
GE JGBP28BEA2 Gas Range
GE JGBP28BEA2AD Gas Range
GE JGBP35BEA1BB Gas Range
GE JGBP35BEA2BB Gas Range
GE JGBP35BEA3BB Gas Range
GE JGBP35BEA4BB Gas Range
GE JGBP40BEC1 Gas Range
GE JGBS20BEA1 Gas Range
GE JGBS20BEA1AD Gas Range
GE JGBP28BEA3 Gas Range
GE JGBP28BEA3AD Gas Range
GE JGBP28BEA4 Gas Range
GE JGBP28BEA4AD Gas Range
GE JGBP27BEA1 Gas Range
GE JGBP27BEA1AD Gas Range
GE JGBP27BEA2 Gas Range
GE JGBP27BEA2AD Gas Range
GE JGBP27BEA3 Gas Range
GE JGBP27BEA3AD Gas Range
GE JBS27BY1 Electric Range
GE JBS27BY2 Electric Range
GE JBS27BY3 Electric Range
GE JBP66BY1WH Electric Range
GE JBP66BY2AD Electric Range
GE JBP66BY2WH Electric Range
GE JBP66BY3AD Electric Range
GE JBP66BY3WH Electric Range
GE JBP66BY4AD Electric Range
GE JBP66BY4WH Electric Range
GE JBP66BY5AD Electric Range
GE JBP66BY5WH Electric Range
GE JBP66DY1WH Electric Range
GE JBP66DY2AD Electric Range
GE JBP66DY2WH Electric Range
GE JBP66DY3AD Electric Range
GE JBP66DY3WH Electric Range
GE JBP66DY1AD Electric Range
GE JBP26AY6 Electric Range
GE JBP26AY7 Electric Range
GE JBP26BB1AD Electric Range
GE JBP26BB1WH Electric Range
GE JBP26AB1AA Electric Range
GE JBP26AY3 Electric Range
GE JBP26AY4 Electric Range
GE JBP26AY5 Electric Range
GE JBP24DY1 Electric Range
GE JBP24DY2 Electric Range
GE JBP24DY3 Electric Range
GE JBP24DY4 Electric Range
GE JBP19BB1 Electric Range
GE JBP19BY1 Electric Range
GE JBP19BY2 Electric Range
GE JBP19BY3 Electric Range
GE JBP19BY4 Electric Range
GE JBP21BB1 Electric Range
GE JBP78BY1 Electric Range
GE JBP78BY2 Electric Range
GE JBP78BY3 Electric Range
GE JBP78BB1BB Electric Range
GE JBP30BA1 Electric Range
GE JBP30BA2 Electric Range
GE JBP30BA3 Electric Range
GE JBP30BA4 Electric Range
GE JBP30BB1WH Electric Range
GE JBP30BB1AD Electric Range
GE JBP60BB1WH Electric Range
GE JBP26BY1 Electric Range
GE JBP26BY2 Electric Range
GE JBP26BY3 Electric Range
GE JBP26BY4 Electric Range
GE JBP26BY5 Electric Range
GE JBP26BY6 Electric Range
GE JBP26BY7 Electric Range
GE JBP66BB1AD Electric Range
GE JBP66BB1WH Electric Range
GE JBP66BY1AD Electric Range
GE JBP78BY4 Electric Range
GE JBP78BY5 Electric Range
GE JBP24BB1AD Electric Range
GE JBP24DB1AD Electric Range
GE JBC27BY1 Electric Range
GE JBC27BY2 Electric Range
GE JBC27BY3 Electric Range
GE JBP21BY1 Electric Range
GE JBP21BY2 Electric Range
GE JBP21BY3 Electric Range
GE JBP21BY4 Electric Range
GE JBP24BB1WH Electric Range
GE JBP24BY1 Electric Range
GE JBP24BY2 Electric Range
GE JBP24BY3 Electric Range
GE JBP24BY4 Electric Range
GE JBP24DB1WH Electric Range
GE JBP66DY4AD Electric Range
GE JBP66DY4WH Electric Range
GE JBP66DY5AD Electric Range
GE JBP66DY5WH Electric Range
GE JBP63BB1AD Electric Range
GE JBP63BB1WH Electric Range
GE JBP63BY1WH Electric Range
GE JBP63BY2AD Electric Range
GE JBP63BY2WH Electric Range
GE JBP63BY3AD Electric Range
GE JBP63BY3WH Electric Range
GE JBP63BY4AD Electric Range
GE JBP63BY4WH Electric Range
GE JBP63BY5AD Electric Range
GE JBP63BY5WH Electric Range
GE JBP63BY1AD Electric Range
GE JBP64BB1AD Electric Range
GE JBP64BB1WH Electric Range
GE JBS61BB1AD Electric Range
GE JBS61BB1WH Electric Range
GE JBS03BY1 Electric Range
GE JBP60BY1WH Electric Range
GE JBP60BY2WH Electric Range
GE JBP60BY3WH Electric Range
GE JBP60BY4WH Electric Range
GE JBP60BY5WH Electric Range
GE JBP26WY4 Electric Range
GE JBP26WY5 Electric Range
GE JBP26WY6 Electric Range
GE JBP26WY7 Electric Range
GE JBS03GV5 Electric Range
GE JBS03GV6 Electric Range
GE JBS03GV4 Electric Range
GE JGBP30BEA4 Gas Range
GE JGBP30BEA4AD Gas Range
No models found matching ""
Showing
of 181.0
Step 1: The current handle end cap should be detached from the appliance. A Phillips screwdriver should be utilized to remove the two screws that hold the cap in place. The screws should be carefully taken out, then the handle end cap should be gently extracted from the appliance.
Step 2: The area should be examined for any dirt or debris. A small flathead screwdriver or another tool should be used to eliminate any dust or grime from the location where the handle end cap will be installed.
Step 3: Lubricant should be introduced to the new handle end cap. A few drops of lubricant should be applied on the rear side of the new handle end cap. This will facilitate a smooth insertion of the end cap, preventing unnecessary strain on the appliance.
Step 4: The new handle end cap should be positioned onto the appliance. The handle end cap should be aligned with the holes in the appliance, then the handle should be slid into its appropriate place.
Step 5: The end cap should be fastened with screws. Once the handle is correctly positioned, the Phillips screwdriver should be used to tighten the two screws. It should ensure that the screws are secure.
Step 6: The end cap should be verified. After the screws have been properly tightened, it should be checked to ensure the handle end cap is securely attached. The handle should be gently tugged; it should remain firmly in place.
Please note that these instructions serve as general guidance and should always be followed alongside the manufacturer's manual, if available.
Step 2: The area should be examined for any dirt or debris. A small flathead screwdriver or another tool should be used to eliminate any dust or grime from the location where the handle end cap will be installed.
Step 3: Lubricant should be introduced to the new handle end cap. A few drops of lubricant should be applied on the rear side of the new handle end cap. This will facilitate a smooth insertion of the end cap, preventing unnecessary strain on the appliance.
Step 4: The new handle end cap should be positioned onto the appliance. The handle end cap should be aligned with the holes in the appliance, then the handle should be slid into its appropriate place.
Step 5: The end cap should be fastened with screws. Once the handle is correctly positioned, the Phillips screwdriver should be used to tighten the two screws. It should ensure that the screws are secure.
Step 6: The end cap should be verified. After the screws have been properly tightened, it should be checked to ensure the handle end cap is securely attached. The handle should be gently tugged; it should remain firmly in place.
Please note that these instructions serve as general guidance and should always be followed alongside the manufacturer's manual, if available.
Customer Reviews
No reviews yet. Be the first to write one!
Write a Review
Thank you! Your review has been submitted.