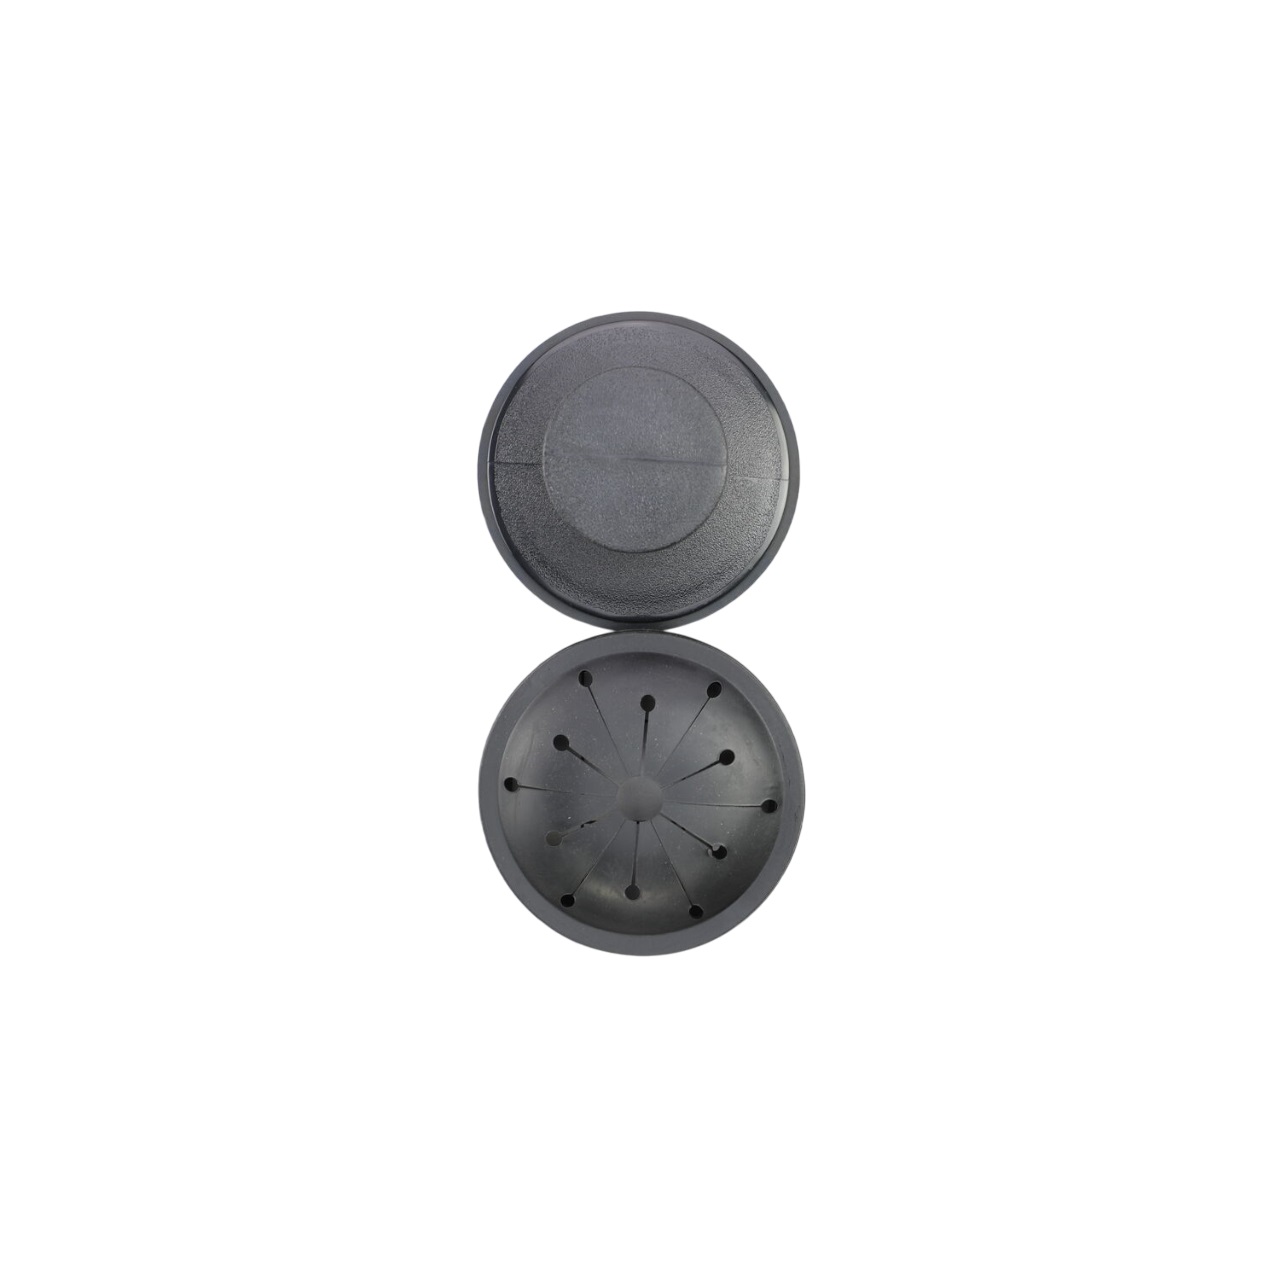

General Electric WC11X20163 Garbage Disposer Splash Guard & Stopper
$11.04
More Information:
This Part Fits the Following Models
18 models
GE AFC111V Garbage Disposal
GE GFC1020N Garbage Disposal
GE GFC320N Garbage Disposal
GE GFC320T Garbage Disposal
GE GFC320V Garbage Disposal
GE GFC325N Garbage Disposal
GE GFC325T Garbage Disposal
GE GFC325V Garbage Disposal
GE GFC501F-01 Garbage Disposal
GE GFC520N Garbage Disposal
GE GFC520T Garbage Disposal
GE GFC520V Garbage Disposal
GE GFC525N Garbage Disposal
GE GFC525T Garbage Disposal
GE GFC525V Garbage Disposal
GE GFC530N Garbage Disposal
GE GFC535N Garbage Disposal
GE GFC720N Garbage Disposal
No models found matching ""
Showing
of 18.0
:
WC11X58|WC3X111|WC3X125|WC11X55|WC03X10002|WC11X10001|PM3X211|WC11X10002|WC11X55|WC03X10010|WC11X10003|WC11X10004|WC03X0125|WC11X0055|WC11X0058
Step 1: Prior to commencing the repair, the power to the garbage disposal unit should be ensured disconnected by switching off the breaker or unplugging the device.
Step 2: A bucket should be positioned beneath the disposal unit to collect any water that could leak during the process.
Step 3: The splash guard and studs located on the bottom of the unit should be identified.
Step 4: A screwdriver should be employed to take out the screws securing the splash guard.
Step 5: The old splash guard should be carefully detached.
Step 6: The new splash guard should be taken and inserted into the slots on both sides of the disposal unit.
Step 7: The new splash guard should be fastened using the screws.
Step 8: The new studs should be positioned into the slots on the sides of the garbage disposal unit.
Step 9: A wrench should be used to tighten the nuts onto the studs.
Step 10: Power to the disposal unit should be restored.
Step 11: The installation of the new splash guard and studs should be verified by running cold water into the sink while the disposal operates.
Step 12: If everything is working correctly, the new splash guard and studs have been successfully fitted.
Please remember, these guidelines serve as general assistance and should always be utilized alongside the manufacturer's manual, if accessible.
Step 2: A bucket should be positioned beneath the disposal unit to collect any water that could leak during the process.
Step 3: The splash guard and studs located on the bottom of the unit should be identified.
Step 4: A screwdriver should be employed to take out the screws securing the splash guard.
Step 5: The old splash guard should be carefully detached.
Step 6: The new splash guard should be taken and inserted into the slots on both sides of the disposal unit.
Step 7: The new splash guard should be fastened using the screws.
Step 8: The new studs should be positioned into the slots on the sides of the garbage disposal unit.
Step 9: A wrench should be used to tighten the nuts onto the studs.
Step 10: Power to the disposal unit should be restored.
Step 11: The installation of the new splash guard and studs should be verified by running cold water into the sink while the disposal operates.
Step 12: If everything is working correctly, the new splash guard and studs have been successfully fitted.
Please remember, these guidelines serve as general assistance and should always be utilized alongside the manufacturer's manual, if accessible.
Customer Reviews
No reviews yet. Be the first to write one!
Write a Review
Thank you! Your review has been submitted.